In this menu you can configure the presentation of your gallery.
First you will find the Basics settings where you can change the title, add a description with personalised styles such as bold, underline, italics and bullets, and choose a photography type for your gallery. Please note that these details are for internal use. By default, the information is transferred as Title and Description of your shared link, but you can overwrite this information in your shared link in the Share Settingsmenu.
For more information, please read the Share settings article.
Photography type: select the type of photos in your gallery.
Date of photo shoot: You can enter the date the photos were taken.
Start publishing: You can enter when you want to start sharing the gallery.
Publishing end date: Enter when you want the gallery to stop being shared.
E-mail workflow: You can select an email workflow that you’ve previously set up. For more information, see the Email Workflow article.

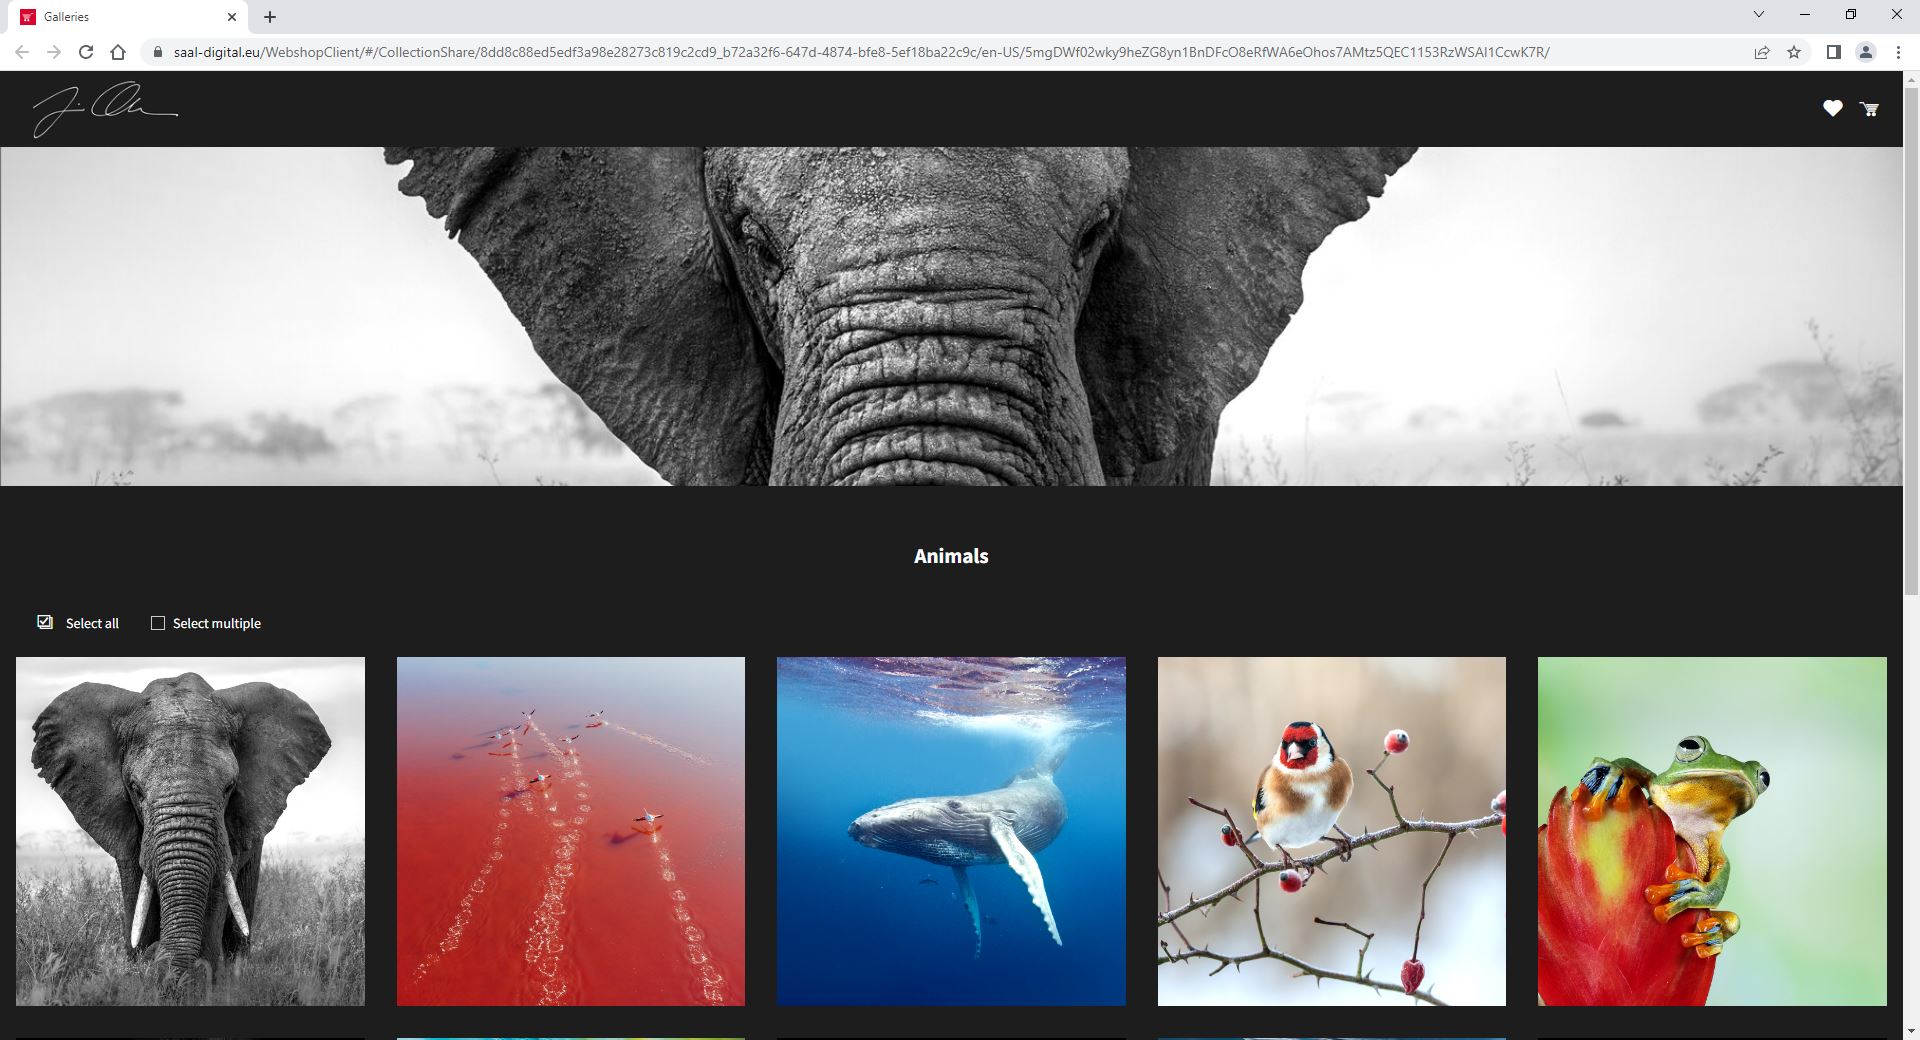
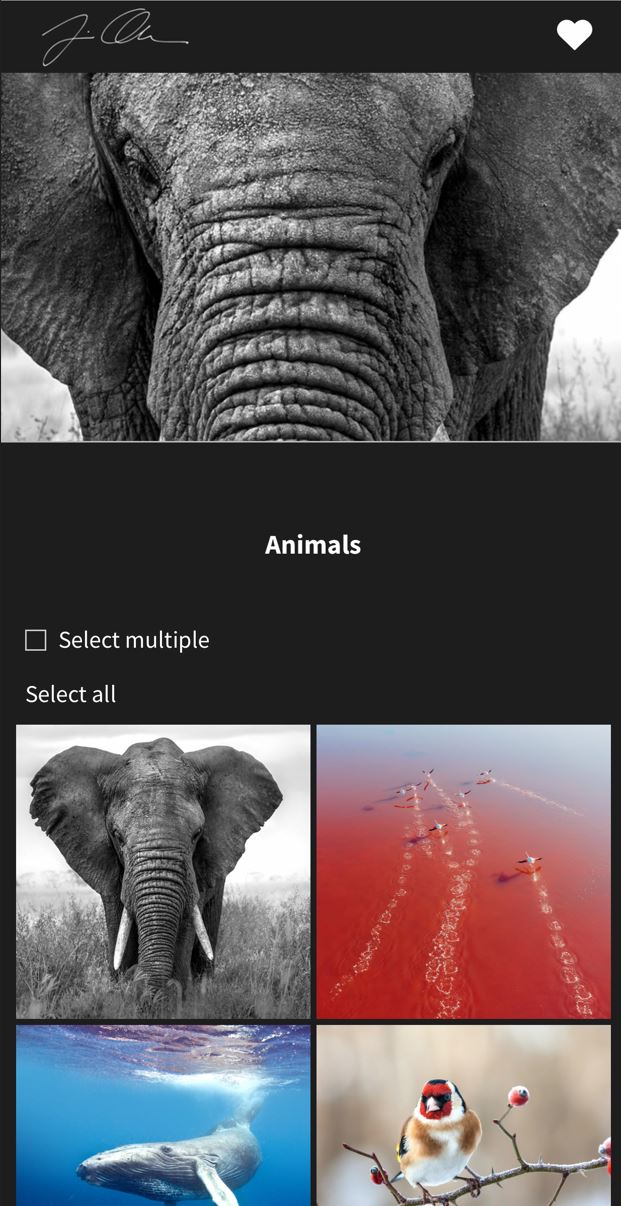
Below you will find different settings for your gallery. You have the option to show an image as a header of your gallery, which will be visible at the top of the gallery’s shared link.
If you want you can activate the option to use this header image exclusively for that function, and not show it inside your gallery.

Photos within a gallery can include a title and description. This information can be added when selecting a photo, on the right column. You can activate the option to display the title and description of the photo in your shared gallery.

You can also activate the Watermark, Comments and Feedback Gallery.
If Show number of images is activated, the number of images within the gallery will be displayed next to the gallery name.
Following these options, you will find the tools to modify the appearance of your gallery.

You even have the option of independently selecting the display mode on mobile devices.
Once you have finished configuring your gallery settings, click Save.
If you wish to copy the same settings from a different gallery, you can do so by clicking on the Import button located in the right column next to the Settings title within the gallery.

Upon clicking on Import, a menu will appear displaying all the galleries you already have. You need to select the gallery from which you want to import the settings and then click on Import.
The gallery settings will be modified according to the imported settings.
When you select a photo in a gallery, a right-hand column will appear with information and functions relating to that specific photo, divided in tabs as follows:

Functions
Comments: Open a comment window to view existing comments and add new ones. The gallery settings must allow comments, and the gallery must be shared for other users to add comments.
Copy: This button allows you to duplicate the selected photo in another gallery or sub-gallery already created.
Move to: Use this function to move the selected image to another gallery or sub-gallery already created, removing it from the current one.
Copy image link: Clicking this button copies the shared link for that particular photo, which you can then paste and share as needed. Note that the gallery must allow sharing for this link to work.
Create caption (for exhibitions): Use this option to create a printable QR card that will link to the specific photo when scanned. Note that the sharing settings must be enabled for this to work. In addition, if the gallery is set for sale, the photo can be made directly available for purchase by scanning, according to the set configuration.
Download image. Download the file of the selected image.
Delete: This will remove the photo from your gallery.
Details
General info: The creation date, file size, dimensions and last order information are displayed at the top of the column. You can change the file name of the photo by clicking on the wrench icon. Note that dots are not allowed in the name file.
Title: This field allows you to give your photo a title.
Description: In this field you can enter a description for your photo.
Sales
Commercial statistics: Displays information on the number of times the photo has been purchased and revenue (if applicable).
Selling price list: The Use price list from gallery option is checked by default. This means that if the gallery is configured for selling, the photo will inherit the gallery’s price list. However, you can use this box to select an alternative price list for the specific photo.
Don’t forget to click Save changes when you are done.
Within a gallery, you will see that there is a pre-selected image in the right column. This image serves as the header of your gallery when the Show Main image option is activated.

You can choose another image by clicking on Change main image. A window will appear where you can select another image from the gallery, or opt to upload other image to work as the main image of your gallery.

In the gallery settings, you can configure the Header style:
Panoramic. The selected header image will be displayed as a panoramic banner at the top of your gallery.
Cover. The selected header image will be displayed at the top with a wider aspect ratio than the panoramic mode.
Art. The selected header image will be displayed at the top without being cropped.

If you select Panoramic or Cover, the image will be cropped. By clicking on the Edit image button (available when either of these options is selected), you can set the focus point. The focus point ensures that the most important part of the image is displayed correctly on any device used to view the gallery, preventing the section set as the focus point from being cropped. Once you’ve set the focus point, click the OK button.

If your gallery is already shared, and you open the shared link, you will see the gallery main image working as a header of your gallery.


You have the option to remove the header from your gallery if you want. To do this, you need to open Gallery settings of your gallery and deactivate Show Main image. In the Gallery settings, you can also activate the option Main image only as a header, so that the main image only works as the header of your gallery.

Get exclusive discounts and designing tips! By signing up, you acknowledge our Privacy Policy. You can unsubscribe at any moment.


